Showing posts with label 7 Gypsies. Show all posts

Tuesday, March 13, 2012

Creative Card Crew: Vintage


Good Tuesday morning; it's time for another fun challenge from the Creative Card Crew!  Our theme for this fortnight is vintage and our sponsor is Simon Says Stamp!


I have to say that while I love vintage, it is very hard for me to pull off, so this was really a struggle....  I had several different ideas before I came across this DP from 7 Gypsies...I knew it would be perfect and went to work!  There is no stamping involved with this card; mainly die cutting, scoring, and sponging.  I used my Scor-Pal to score a few lines on my Kraft cardbase, then gently swiped an ink pad along the scoring before adding a bit of sponging.  I like the aged look!  I also added a bit of ink to the DP to "dirty it up" a bit.  I added my felt die cuts, a button, a pearl, and a needle with floss to finish the card.

Paper: PTI Kraft and True Black, 7 Gypsies DP
Ink: Palette Burnt Umber
Embellies: PTI Button, K&Company Pearl
Extras: Scor-Pal, Spellbinders Nestabilities, PTI Dress Form Die, MFT Die-namics Rolled Flower Die, PTI Pure Poppy Felt, Black/Green Felt (my stash), DMC Floss

I would love to see your take on vintage...maybe you can give me a few ideas!

Thanks for stopping by!

Angela

Monday, June 6, 2011

MFTWSC22: Cesare Pavese

Hello! I just had to give the MFT sketch another try.... I switched gears this time and went for a bit of a shabby-chic look. This DP from 7 Gypsies is one of my favorites; love the versatility of all the colors. I used vellum panels so you could still see the pattern; the corners are held in place with crystals which also frame the sentiment panel.

Here's a detail shot with the flower. I was thinking a had a leafy vine die, but I guess I don't. Anyway I found this leaf die while looking through my PTI dies. It's a bit different from the one I usually use, so it was fun for a change of pace.

Do you see how you can see the DP through the ribbon? I fixed that by cutting a strip of yellow paper just a hair narrower than the ribbon and adhered it first. It's an easy trick, try it!

Sentiment: MFT Clearly Sentimental About Parents
Ink: PTI Smokey Shadow
Paper: PTI Smokey Shadow, 7 Gypsies DP, The Paper Studio Vellum
Embellies: PTI Lemon Tart Satin Ribbon, Gray Grosgrain Ribbon (my stash), Swarovski Flatback Crystals in "Black Diamond"
Extras: Spellbinder's Nestabilities, MFT Die-namics Rolled Rose and Scalloped Border Dies, MFT Felt (green), PTI Leaf Die, PTI Raspberry Fizz Felt

That's all for now; enjoy your Monday!

Angela

Sunday, May 8, 2011

Mother's Day 2011

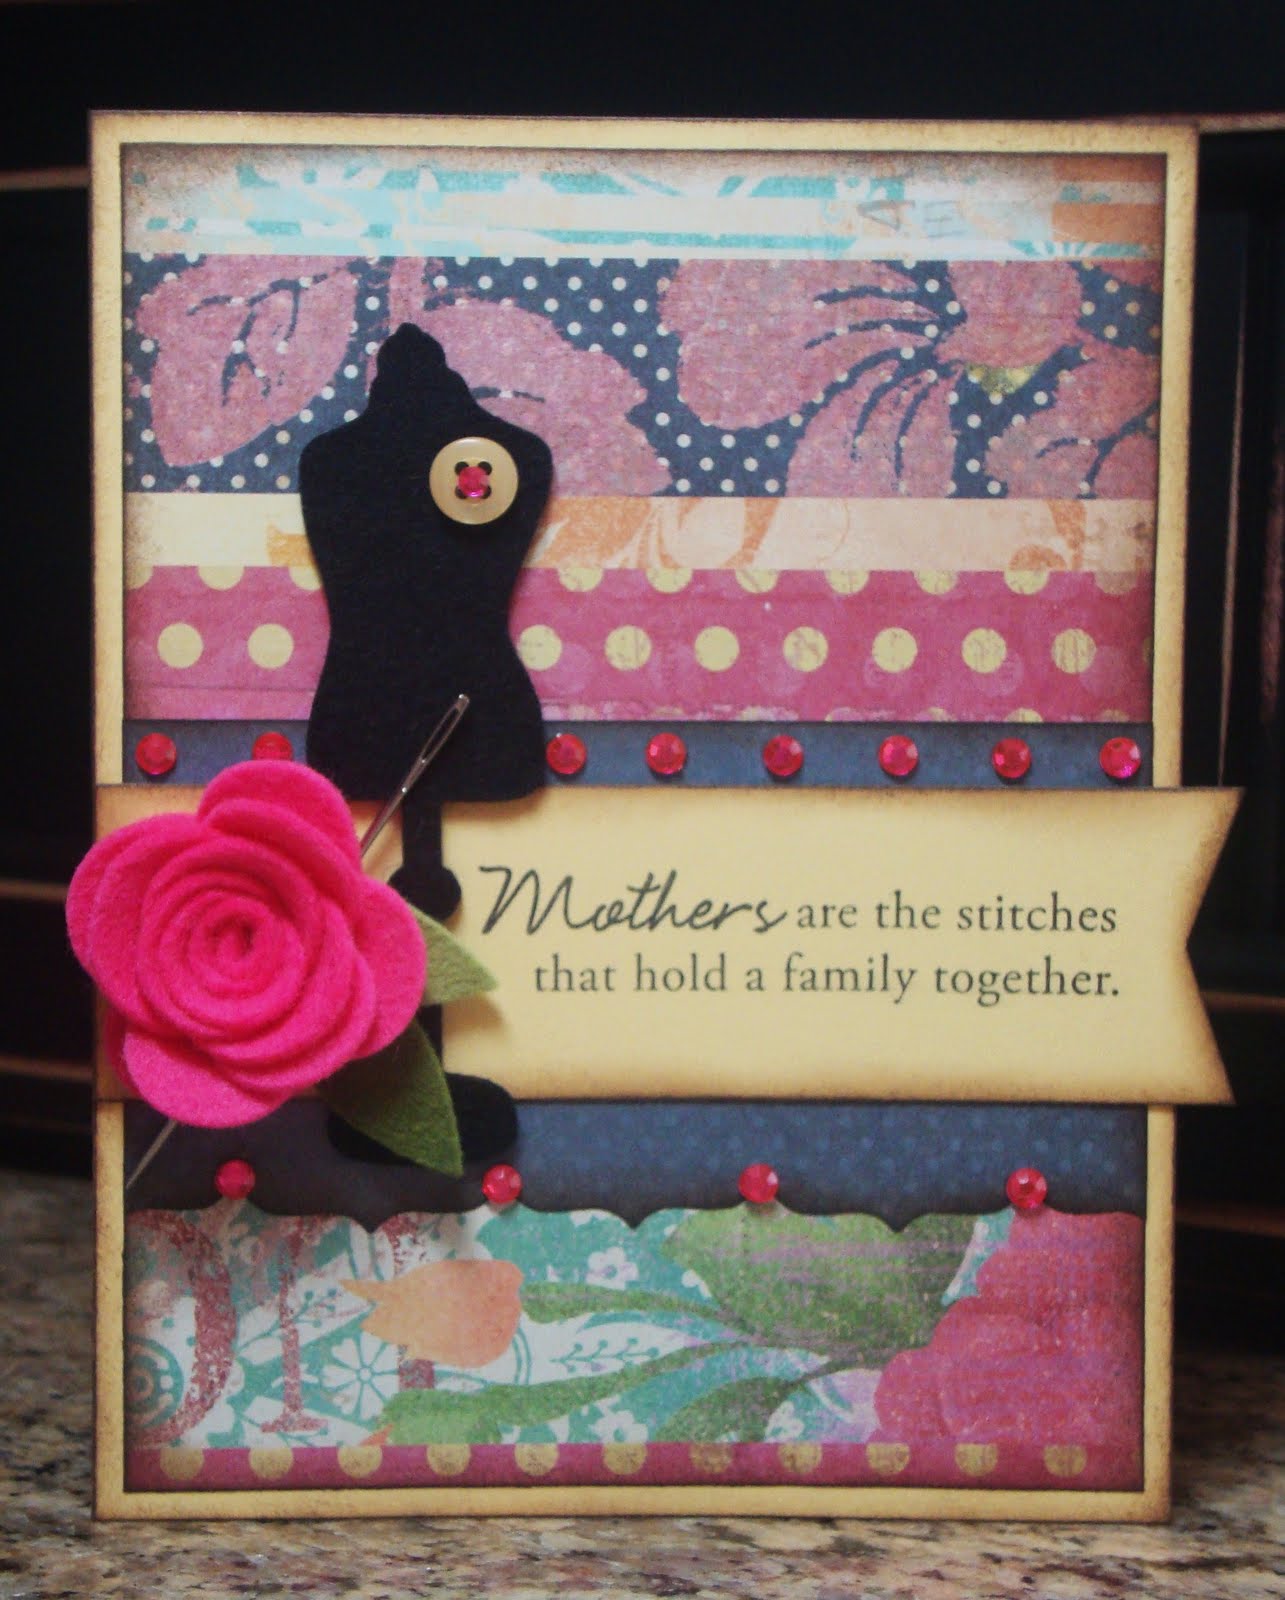
Hello! Happy Mother's Day to all you mothers in blogland. I wanted to share the card I made for my Mom; I had hoped to post it earlier, but I finished up the gift box at the last minute today. Do any of you do things on the fly? I always seem to be running 2 steps behind....
The idea for this card came from the May/June issue of Paper Crafts Magazine; it was on page 72 and designed by Betsy Veldman. I just love her style...so beautifully shabby-chic! I do have to admit mine doesn't look a whole lot like hers, but my Mom loved it and that's what counts. I figured with the pink flower and bling, it was a sure bet! I did some sponging and used some dies and felt to make my embellishments.
Sentiment: Papertrey Ink Quilter's Sampler
Ink: Memento Tuxedo Black, Palette Burnt Umber
Paper: PTI Lemon Tart, 7 Gypsies DP (double-sided)
Embellies: PTI Button, MAMBI Bling
Extras: Fiskars Border Punch, PTI Dressform Die and Felt (Raspbery Fizz, True Black), MFT Die-namics Rolled Rose Die and Felt (green), The Cat's Pajamas Cutup Die (leaf), Needle
I had bought my Mom some jewelry and decided to make a gift box to hold the card and the jewelry. I took a few photos and will give a brief description of the steps to make the box.

I like to make my box 1/8" bigger than the card. I wanted it to be 1 1/2" deep, so I added 3 1/8" to the dimensions of the card to make the base. The top is 1/16" larger. After cutting both pieces, I scored on all 8 sides with my Scor-Pal and then creased the score lines.

Next I snipped each corner to the center of the square of the scored lines, and then cut 1/2 of the square away. I used a tiny amount of glue to adhere the triangular portion to the inside of the box.

This photo shows the assembled box and embellished lid. I line the bottom of the box with Warm and Natural batting; cut the batting to fit and adhere with a bit of glue. I decided to make a compartment to hide the jewelry (top left), so I cut a piece 1/16" smaller than the base and added 3/4" for the sides. Score all 4 sides, fold, and this time cut out the entire square in the corner. I pierced a hole in the center and used some floss for a pull loop (the floss is knotted on the underside).

Here's the finished box with the extra layer. I made the extra layer so that I could include the jewelry in the box, while having the card lie flat. The top is embellished with some sponged DP, a monogram, a button and some bling.

Here's the finished box with the card...I have to say my Mom really liked the box! I have made quite a few of them and it really dresses up the presentation of the card. She liked the jewelry too; so much that she immediately put on all 3 pieces! I don't think the necklaces were designed to wear together, but they looked nice all the same.... I had bought some Monet earrings and a necklace a couple of months ago. I went back to the same store a couple of weeks ago and found another coordinating necklace...on clearance. It was $6.99; the original price was $48. I couldn't pass up that deal, so now she has options!
I hope you had a fabulous Mother's Day today and were able to spend time with your loved ones!
Angela

Tuesday, March 29, 2011

TMS#87

Good Tuesday morning! It's time for another fun challenge from Melissa at the Tuesday Morning Sketches blog. Our sponsor this week is Doodle Pantry; I just love this adorable bird image! Cute, cute, cute! I have to say this sketch had me stumped! I ended up changing the shapes of the panels to fit my image and also cropped the image. I used some fun DP I found when we took a day trip over spring break; the backside is used to paper piece the bird. I really had my doubts, about my choice to paper piece, when I starting trimming.... Those feathers are tiny! My daughter told me the bird looked weird with the "spots" all over, but I think he is too cute...and original! Image/Sentiment: Doodle Pantry Digital Image Paper: PTI Stamper's Select, Lemon Tart and True Black, 7 Gypsies DP, The Paper Studio Vellum Embellies: Swarovski Flatback Crystals in "Jet" and "Rose" Extras: Prismas/Goo Gone, Spellbinder's Nestabilities, MFT Die-namice Rolled Flower Die, The Cat's Pajama's Cut-Up Die (leaf), PTI Felt (yellow), MFT Felt (green) I can't wait to see the fun cards the rest of the girls have come up with! You can check them out here...and maybe play along too! Thanks for stopping by; have a great day! Angela