Good Tuesday morning! I hope you enjoyed your Memorial Day holiday and were able to spend some time with your loved ones. My Dad is a veteran, so he was in a parade...he has been every year for as long as I can remember. I always get tears in my eyes as he marches by.... Thanks to all veterans who have served; and thanks to those who serve their country now.
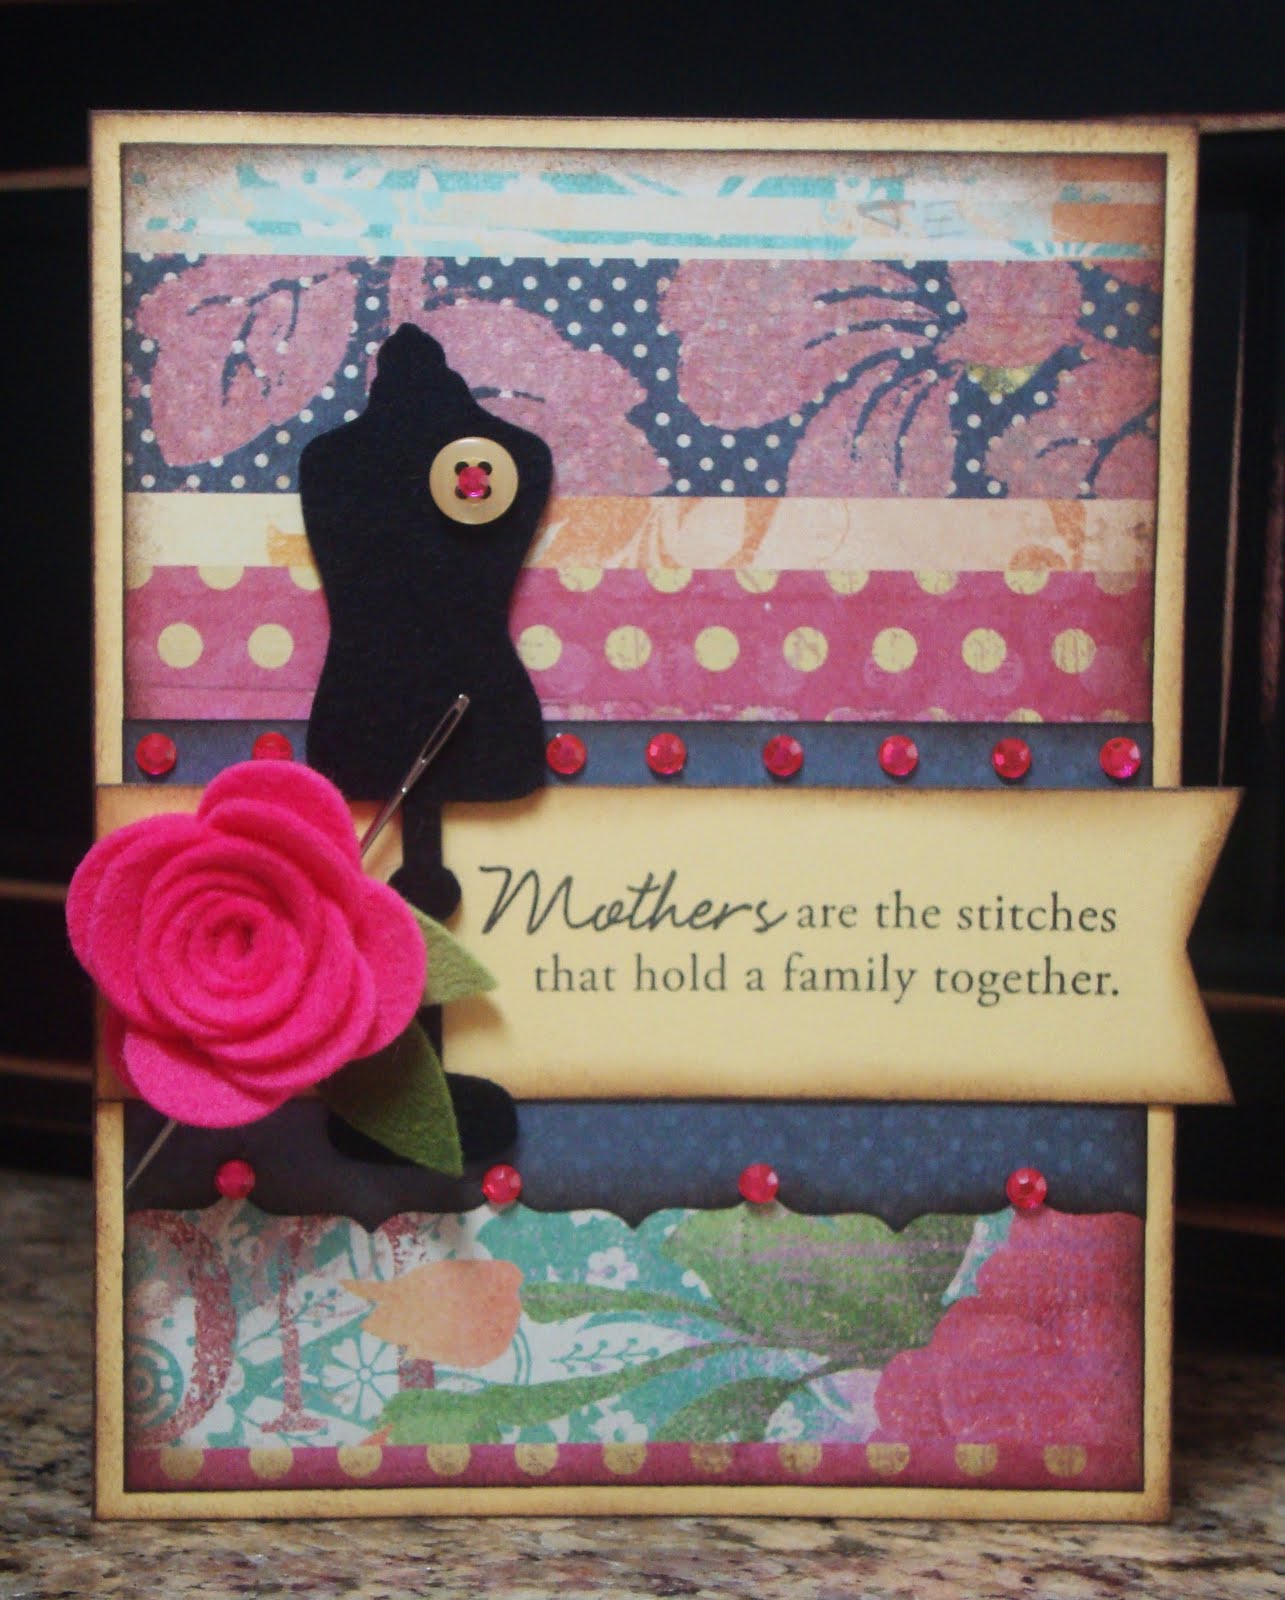
As you know, Tuesdays mean another sketch from Melissa at Tuesday Morning Sketches. I tell you...her sketches have stumped me lately! I decided to go with a clean and simple approach this week. I used some DP from the girls' paperie (one of my new favorite companies...love the vintage flair), some sponging, and simple embellishing. The sentiment is stamped on vellum, then adhered to the paper. I got out the supplies to make my own flower embellie, but then remembered these Prima roses in my stash...I thought the size was perfect.
Sentiment: Stampabilities
Ink: Palette Burnt Umber
Paper: PTI Fine Linen, the girls' paperie DP, The Paper Studio Vellum
Embellies: PTI Dark Chocolate Twill, Prima Rose, Swarovski Flatback Crystals in "Smoked Topaz"
Tips and Tricks:
Often you can see the adhesive when using vellum, so I like to use small embellishments in the corners of my project to cover it. I simply place a tiny dot of adhesive between the paper and vellum, then add another tiny dot to the top and cover it with my embellie.
I can't wait to see what the rest of the DT has done with this tricky sketch! I hope you will visit the Tuesday Morning Sketches blog to check them out too!
Thanks for stopping by today!
Angela